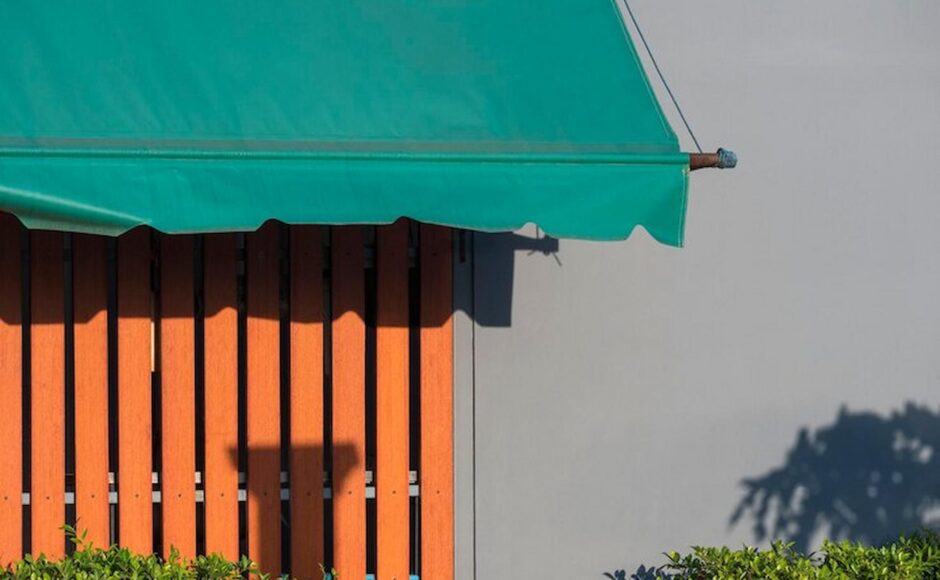
House awnings are a practical and stylish addition to any home, providing shade, protection from the elements, and enhancing curb appeal. In the UK, where unpredictable weather is a constant, installing an awning can be a game-changer. While hiring a professional is the easiest option, a DIY approach can be cost-effective and rewarding. With the proper guidance, installing a house awning can be a manageable project for homeowners. This article will delve into the DIY house awning installation, offering valuable tips and tricks to ensure success.
Planning and Preparation
Thorough planning and preparation are essential before diving into the installation process, especially when considering House awnings UK. Begin by determining the ideal location for your house awning. Consider factors such as sun exposure, wind direction, and the architectural features of your home. Measure the area accurately to ensure the awning fits perfectly.
Next, research the various types of awnings available in the UK market. From retractable to fixed awnings, there are numerous options, each with advantages. Consider your specific needs and preferences when selecting the type of awning that best suits your home.
Gather all the necessary tools and materials before starting the installation process. Standard tools required include a drill, screwdriver, tape measure, level, and ladder. Additionally, ensure you have the appropriate hardware provided by the awning manufacturer.
Assembly and Installation
Once you’ve completed the planning phase, it’s time to assemble the awning and prepare for installation. Follow the manufacturer’s instructions carefully, ensuring you understand each process step. Start by assembling the frame of the awning according to the provided guidelines.
With the help of a friend or family member, position the assembled awning in the designated location. Use a level to ensure the awning is perfectly straight and aligned with your house. Once in position, mark the locations for drilling holes to secure the awning brackets.
Carefully drill the holes using the appropriate drill bit size specified by the manufacturer. Insert the screws provided with the awning kit and tighten them securely to secure the brackets to your house. Double-check the alignment and stability of the awning before proceeding to the next step.
Electrical and Mechanical Considerations
Depending on the type of awning you’ve chosen, additional electrical or mechanical components may be involved in the installation process. You must connect the motorised mechanism to a power source for retractable awnings.
If you need more time to get comfortable working with electrical wiring, hiring a professional to handle this aspect of the installation is best. However, if you’re confident in your abilities, follow the manufacturer’s wiring instructions carefully. Ensure all connections are secure and insulated to prevent any electrical hazards.
For manual awnings, test the mechanical components to ensure smooth operation. Lubricate moving parts as needed to avoid friction and prolong the lifespan of the awning. Taking the time to maintain your awning properly will ensure years of trouble-free use.
Weatherproofing and Maintenance
Once the awning is installed, it must be weatherproofed and protected from the elements. Apply a weatherproof sealant around the edges of the awning where it meets the house to prevent water infiltration.
Regular maintenance is vital to preserving the integrity of your house awning. Inspect the awning periodically for any signs of damage or wear and tear. Clean the fabric or material according to the manufacturer’s recommendations to prevent mould and mildew growth.
Consider removing or retracting the awning during winter to avoid damage from heavy snow or ice buildup. Store the awning in a dry, sheltered area to prolong its lifespan and maintain its appearance.
Conclusion
Installing a house awning in the UK can be a rewarding DIY project that enhances your home’s functionality and aesthetic appeal. By following these tips and tricks, you can ensure a successful installation process and enjoy the benefits of your awning for years. From careful planning and preparation to proper assembly and maintenance, attention to detail is critical to achieving the desired results. With a little effort and know-how, you can transform your outdoor space with a stylish and practical house awning.
Whether creating a shaded retreat for outdoor entertaining or protecting your windows from harsh sunlight, a well-installed awning can make all the difference. Embrace the DIY spirit and take on the challenge of installing a house awning to elevate your home’s exterior and enhance your outdoor living experience.